GaiaNet Node Installation Guide
Setting up your own GaiaNet node is a straightforward process that allows you to be an integral part of a decentralized AI network. Here’s…
Setting up your own GaiaNet node is a straightforward process that allows you to be an integral part of a decentralized AI network.
Here’s a step-by-step guide to help you through the installation and setup:
Details can be found here: https://github.com/gaianet-ai/gaianet-node
Alternatively: https://docs.gaianet.ai/node-guide/quick-start
Youtube Video on Node Installation: https://www.youtube.com/watch?v=b2qlaKqyKoE
Step 1: Installation
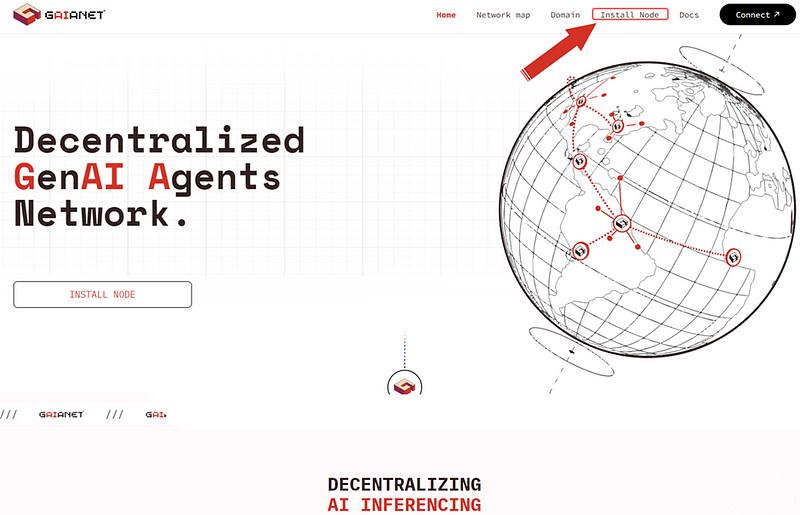
Visit GaiaNet’s Official Website:
- Navigate to GaiaNet’s official website.
- Look for the “Install Node” button.
Step 2: Open the Terminal
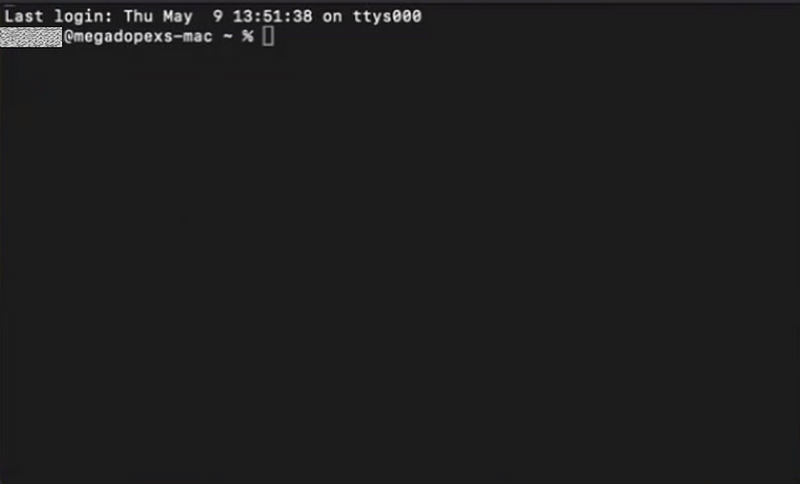
Access the Terminal application:
- Press Cmd+Space to open Spotlight
- Type “Terminal,” and press “Enter”.
Step 3: Run the Installer
Install the Node Software:
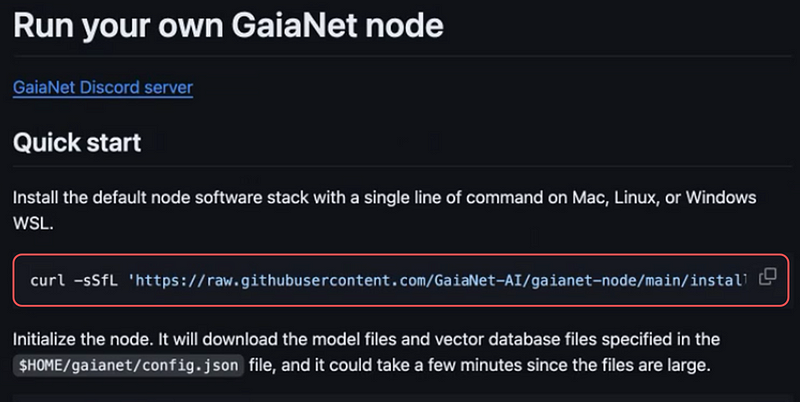
- Execute the installation command in the Terminal.
- Copy code curl -sSfL
‘https://raw.githubusercontent.com/GaiaNet-AI/gaianet-node/main/install.sh' - Paste code curl -sSfL and run
- This script downloads and installs the GaiaNet node software on your Terminal.
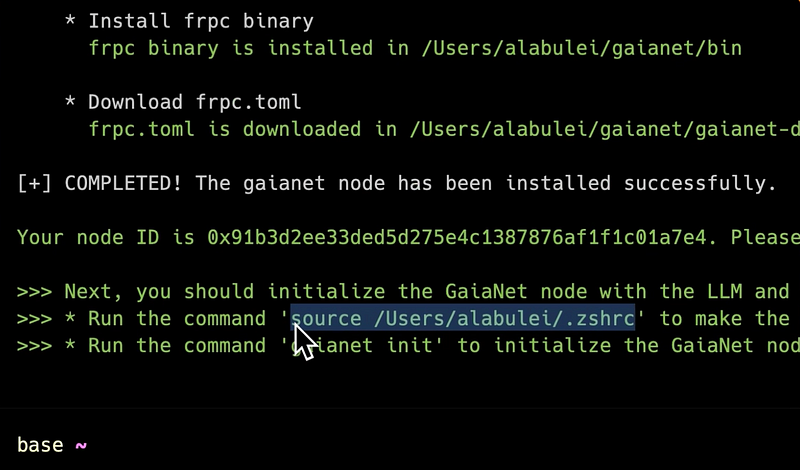
If successful, there will be a message like: >>>Next, you should initialize the GaiaNet node with the LLM and knowledge base. Run the command: source/Users/alabulei/.zshrc <<<
- Copy source code and paste
Step 4: Configuration
Configure Your Node:
- After installation, you’ll need to configure your node. This typically involves setting up network preferences, necessary libraries and settings.
Run: gaianet init
- This command sets up the node for the first use.
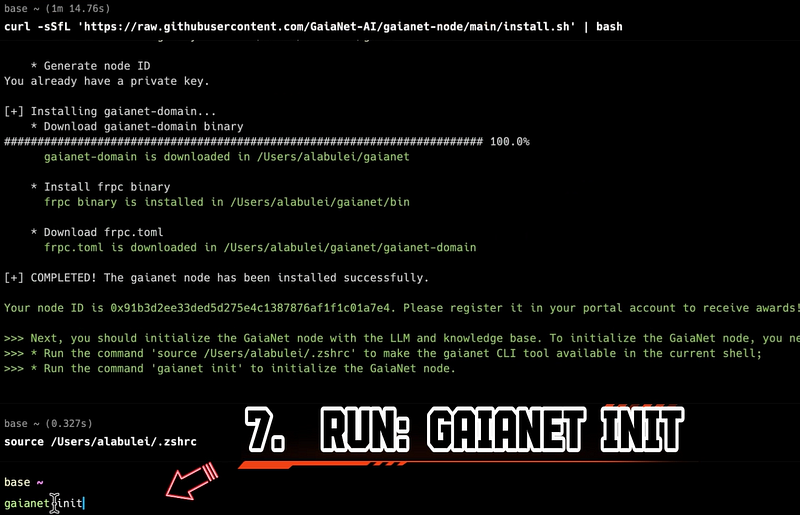
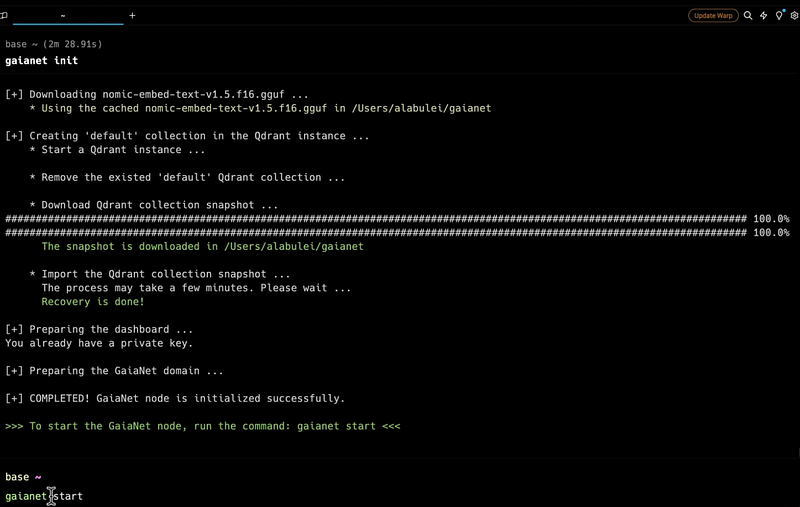
If successful, there will be a message like: >>>To start the GaiaNet node, run the command: gaianet start <<<
Start the Node: gaianet start
- This will activate the node, allowing it to begin operations such as processing data or interacting with other nodes in the network.
Step 5: Connect to the Network
Join the GaiaNet Network:
- Once your node is configured, the next step is to connect it to the GaiaNet network.
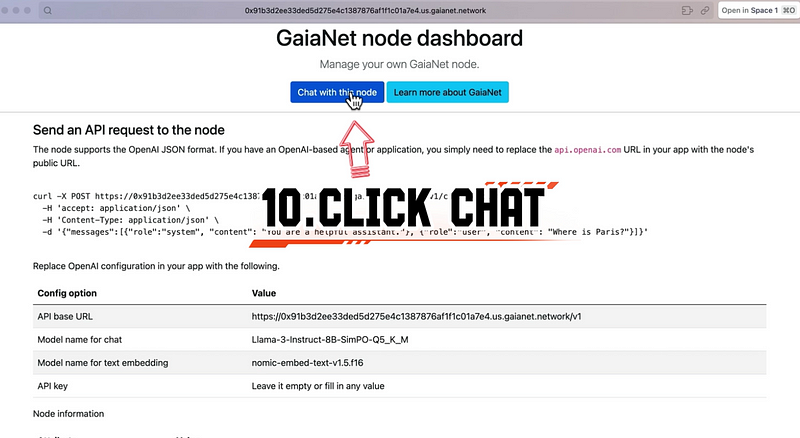
If successful, you will see a subdomain link in the Terminal.
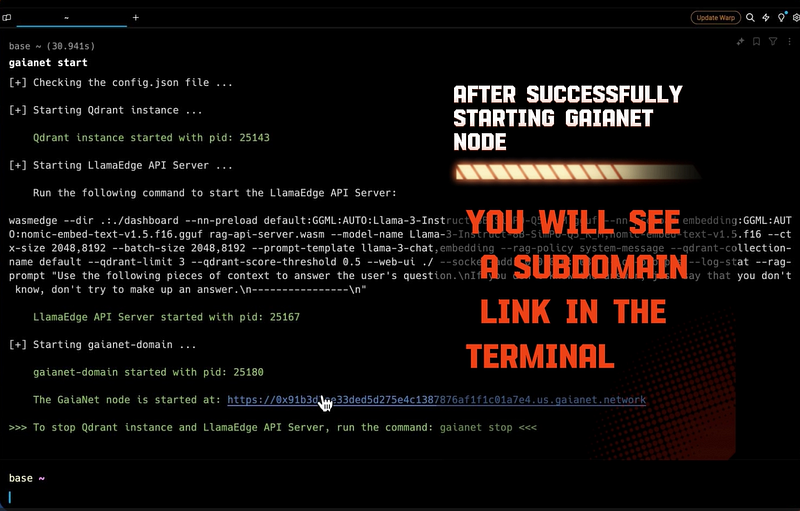
- Click on the subdomain link and it will lead you to Chrome.
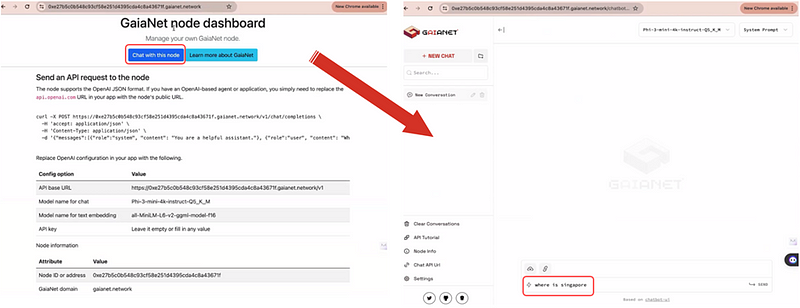
- Then click on: “Chat with this node”
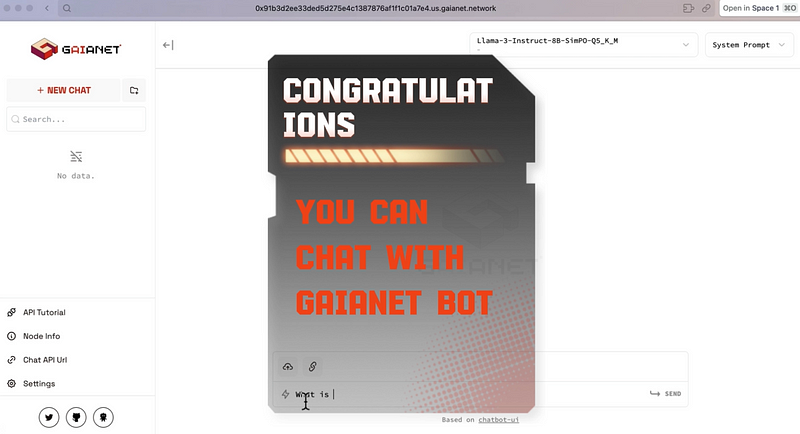
- You can now chat with GaiaNet Bot.
Step 6: Participate in the Community
Engage with the GaiaNet Community:
- Participation doesn’t end with setting up your node. Engage with the GaiaNet community through forums, social media, and other platforms.
- Join discussions, provide feedback, and contribute to the ecosystem’s growth and improvement.
Setting up a GaiaNet node not only allows you to contribute to the decentralization of AI but also positions you at the forefront of this transformative technology, ensuring you are part of the movement that shapes the future of AI interactions.


